I've Moved!

Head on over to The Renaissance Housewife to reconnect.
Showing posts with label bread. Show all posts

Friday, November 29, 2013

How To Make Puff Pastry

Let me introduce you to puff pastry; friend of the butter-lover and wanna-be pastry chef.

Butter = love!


Puff pastry is an incredibly versatile dough that can be frozen and used when ready. The main idea is to alternate layers of dough with layers of butter. My recipe uses cubes of butter folded in the dough- a lot easier than the slab method Here is my recipe:

16 oz. flour (half cake flour is good)
1 lb. butter, cubed and chilled
9 oz. ice-cold water
1/4 oz salt

Add butter to flour and toss to coat butter. Combine the water and salt; add all at once. Mix on low speed until the dough forms a shaggy mass.

Look closely and notice huge chunks of unmixed butter.
  Cover the mix and put it in the refrigerator to let the butter get hard again (20 minutes). When this is done, roll out the dough into a square or rectangle. Fold like a birthday card and roll out again. Keep folding and rolling until you get the desired texture. The less you fold, the more puff you'll get. Fewer folds will give you a finer texture and more even layers.

Folded and ready for refrigeration.
Refrigerate as needed, when the butter starts to melt. After you are done folding, the dough can be baked at 350 degrees until golden (time varies depending on thickness, etc.).

I cut mine with a biscuit cutter, then folded in half.

Notice the layers?

Mid-bake time... butter is melting out, thus creating flaky crispiness!

All done! Took 15-20 minutes to bake.
 What I love about this recipe is that you can freeze the dough and then use it when you're ready. It thaws fairly quickly (an hour or so). You can bake as-is, cut out in different shapes, or you can make pockets with filling, or wrap around a hot dog or whatever! You can also make triangles and roll them up for croissants.

While all that butter is awesome, it costs me about $3 per recipe. Compared with 5-Minute Artisan Bread this is substantially more expensive, but for special occasions I don't think this is a bad price. I love the fact that you can get a great puff pastry with only four ingredients.

Monday, November 11, 2013

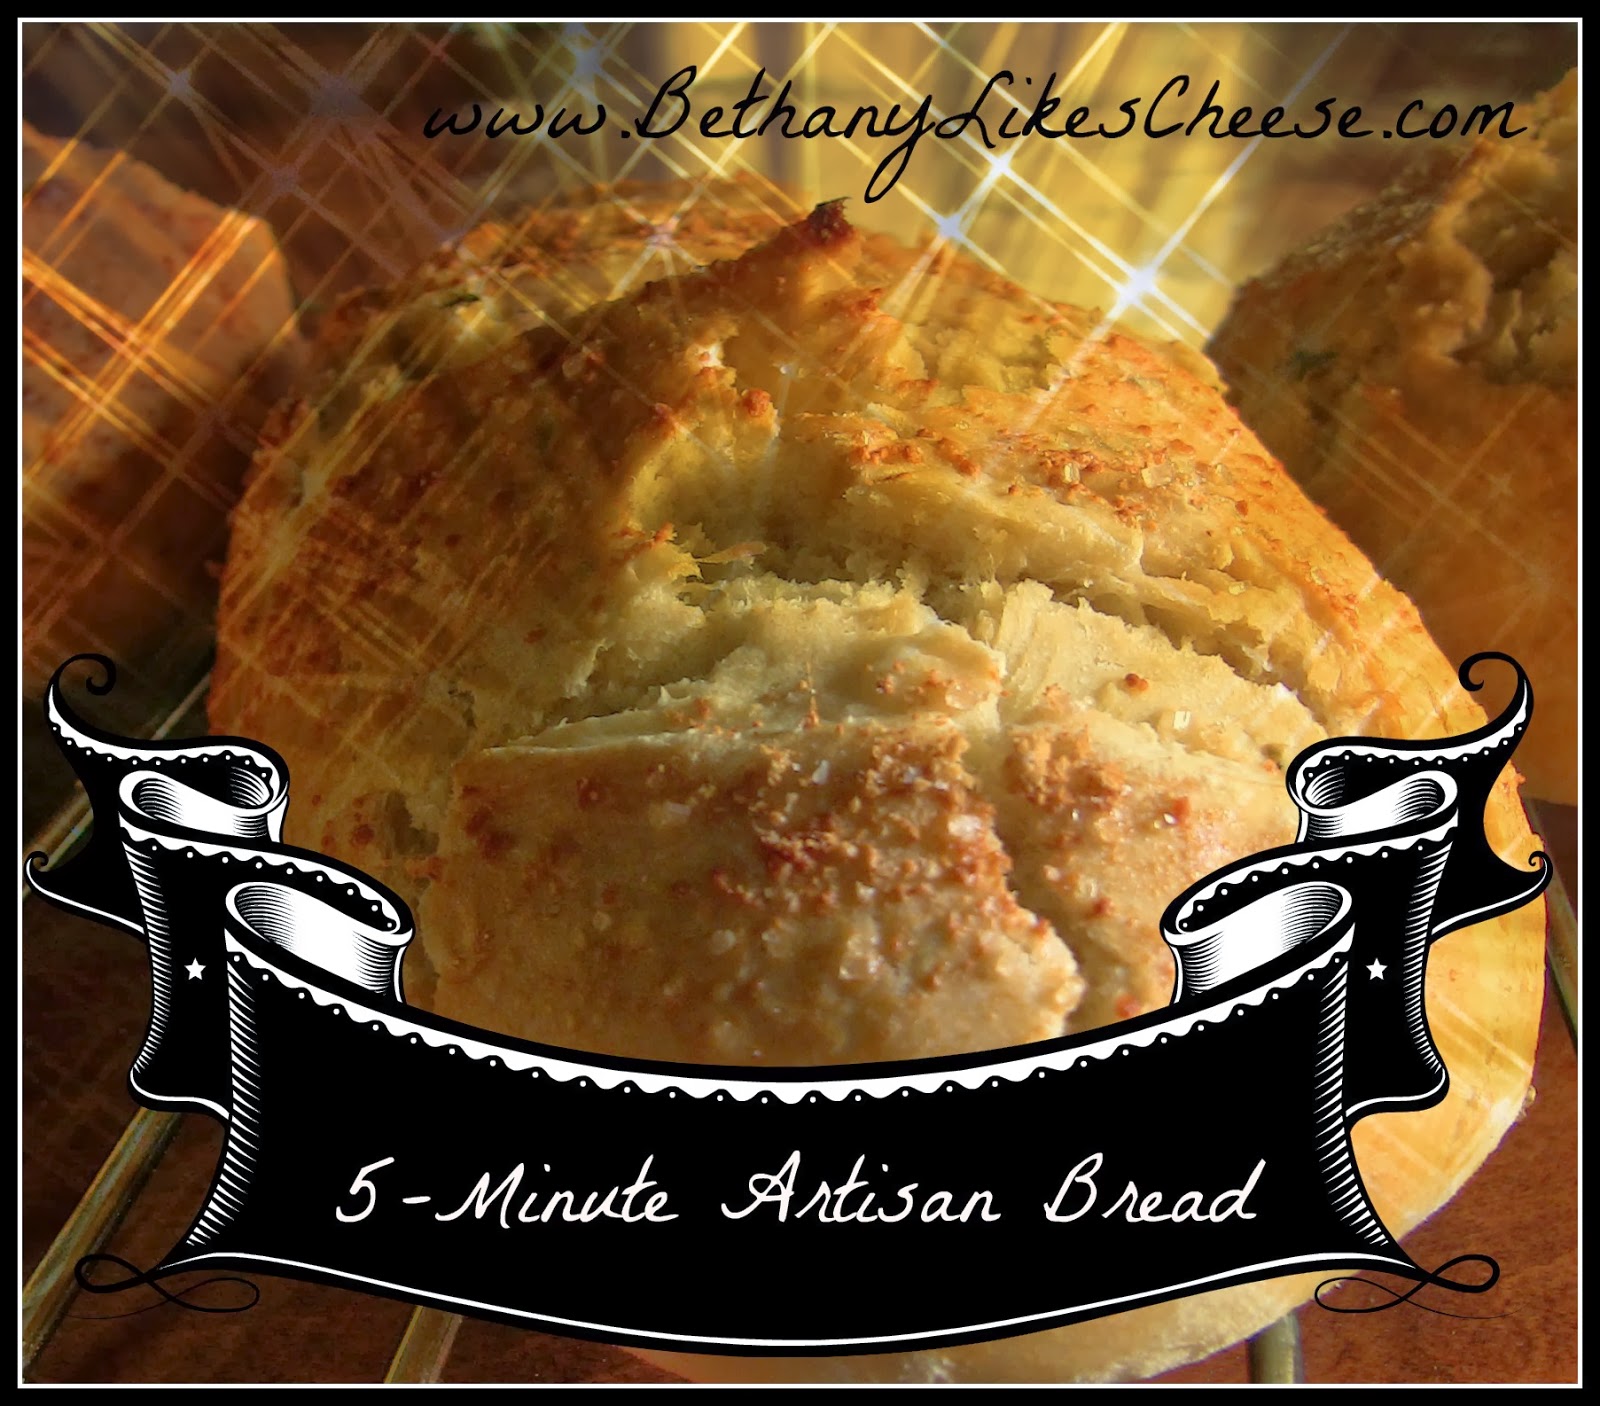
5-Minute Artisan Bread

Whenever I feel the need to make bread, I use this recipe. It is super easy and fast, and makes a nice fresh-out-of-the-bakery-looking loaf.

 Basic Bread Recipe

3 cups warm water
1 tablespoon yeast 
1 TB salt
6 1/2 cups flour 

Instructions:
1. Mix all ingredients (I usually do yeast & water, let sit for 5 minutes, and then add everything else).
Adding the yeast.

Adding some extras.
The finished dough.
After everything is mixed, add flour until you get a shapeable texture.

2. Shape loaves. Big rolls/buns turn out well, as do log-shaped "French" loaves. You can use a pan (grease it first), but I like the artisan-like look of just baking on a parchment-lined cookie sheet.

3. Add toppings and garnishes. Cut some slits and the top of the bread so it can 'vent'. This is best done with a serrated knife.

I like to put an egg wash on my bread before it bakes. An egg wash is just an egg (or a white or a yolk- depending on what color you want) mixed with some water and then spread across the top of the bread with a butter brush. An egg wash helps seasonings and toppings like poppy seeds stick to the top of the bread. 
Ready to bake!
I'll normally do let it rise 30-80 minutes, depending on my schedule. If I really don't have time, I'll just stick it in the oven and bake.

4. Bake in a 350 degree oven until golden brown on top. Sometimes I also brush some melted butter on the top, though it's not necessary.

Enjoy!

My best find in the bread-baking world in the last year has been this 4-ingredient recipe from the book "Artisan Bread in 5 Minutes a Day". I borrowed the book from the library, but you can get the master recipe (with details and a tutorial!) here.

The authors recommend making a big batch of dough and then refrigerating it until needed.  One thing to keep in mind: leave some room in your container for dough expansion. You're supposed to refrigerate the dough and then punch it down later. I refrigerated my dough and came home from work to discover that it had exploded over all my other projects. Nice, huh?


Anyhow, if you're not as cheap as I am, I would highly recommend buying the book as a reference. I tried one of their recipes for brioche when I had the book, and it was excellent.

Friday, November 1, 2013

Baking Powder Biscuits Recipe

Baking powder biscuits are great with sausage gravy or a last-minute addition to soups.

Baking Powder Biscuits Recipe

Ingredients:
2 cups flour
3 tsp. baking powder
1/2 tsp. salt
1/4 cup lard or butter
2/3 - 3/4 cup milk

Instructions:

Mix first three ingredients. Cut in butter/lard, and then stir in milk. Drop on baking sheet, or use biscuit cutter to shape. Bake at 450 degrees for 13 minutes.


Cutting in the butter.
Butter cut in!
 

Using the biscuit cutter.
Happy biscuit-baking!

~Bethany

Tuesday, August 20, 2013

Tortilla Chips... pan or deep fat fried?


Deep fat fried
I finally got around to making tortilla chips, like the ones they serve in Mexican resturaunts. Forgive me if my methods are incorrect, as I did zero research on making tortilla chips before I actually did it.

The batch I've pictured first was deep fat fried in soybean oil (gasp! people, don't do this at home! I was housesitting and had to choose between vegetable and olive oil). They turned out looking very nice, evenly colored and crispy. However, they tasted like nothing. This probably had to do with the oil and the fact that I used corn tortillas, which really have no flavor to start out with. I also forgot to sprinkle salt over top before I ate them.

So, for a pretty picture to put on your blog, deep fat fry your tortillas in soybean oil.

If you're going for flavor though, pan fry in butter!

The second batch was pan-fried in butter and salt. It was hard to get a happy medium between oil-soaked floppy and charcoal burned, but the chips that did turn out were excellent. They did take more time to cook, however.
Pan-fried in butter... yummy!
Happy frying!
-Bethany

Wednesday, August 14, 2013

Cheddar Cheese Crackers

These are for anyone (like myself) who LOVES Cheese Nips.


Cheddar Cheese Crackers

Cost per recipe: $2.40

Ingredients:
8 1/4 oz. all purpose flour
8 oz shredded sharp cheddar cheese (the finer shred, the better)
1/2 tsp. salt
1/2 tsp. ground black pepper
4 oz. canola oil
4 to 5 oz. water
Topping- recipe calls for kosher salt- for a different look I used margarita salt and it turned out great.

Instructions:
1. Combine flour, cheese, and spices. Food processor or Kitchen Aid works great. Add the oil and mix just to a coarse meal consistency. Add the water gradually until the dough forms a cohesive ball that pulls away from the side of the bowl.

2. Divide the dough equally into pieces, wrap, and refrigerate.

3. Roll the dough through a pasta machine to 1/8 in thickness (I just did it as thin as I could).

This is the part that I've had trouble with before- getting the dough through the noodle maker without it falling apart. Some batches work better than others. If you're having trouble, use flour or water or smash it as thin as possible on the counter, and then run it through (as opposed to shoving a ball of dough through the machine).

4. Cut out cracker shapes. You can use a drinking glass, pizza cutter, cookie cutter or whatever works.  Sprinkle the crackers with salt.

5. Bake at 325 degrees F 15-20 minutes until lightly golden.

Enjoy!

Wednesday, June 12, 2013

Pepper Jack and Oregano Crackers

I decided that, along with my cheese, it would be cool to make complimentary crackers. I think every cheesemaker should be able to make things to compliment their cheese. Just simple things like wine and chocolates. You know.

All joking aside, one of my goals for this year was to make crackers. I have tried this before with mixed results. It's hard to get the thickness and bake time right. I had some issues with the first batch.
To my credit, the burning was NOT my doing. The oven decided to randomly start cleaning itself about 5 minutes before it was time to take the crackers out. I was pretty much devastated. Crackers are far too much work to burn half a batch.

The dough was pretty easy to make, and cheap except I had to buy an 8 oz. bar of pepper jack cheese. Eew! But it was for the sake of the recipe, which was out of my Garde Manger book. After I made the dough, I put it in the refrigerator for several hours. It could probably sit there for a week or two if needed.

The recipe had me run my hunk of dough through a noodle roller (good ole Kitchen Aid!). At first it was impossibly crumbly, but then I got smart and dusted the dough with more flour and ran it through the roller in smaller hunks. For the first batch I cut the crackers with a diamond wavy-edged cutter, but I didn't push down hard enough or the waves were too intricate for my chunky dough (thanks to the shredded cheese in it). The second time around I used even more flour and cut the crackers with a small water glass. They turned out a lot better.

The second batch turned out well, but my phobia of the randomly self-cleaning oven prevented me from baking them long enough. The insides weren't crispy enough. But the first batch was plenty crispy! If they didn't have that burned flavor, they would have been perfect.

The recipe itself was good, but I don't like pepper jack cheese. I am going to try two more varieties; blue cheese pecan and cheddar walnut. I'm sure those will turn out great.


Thursday, April 11, 2013

How to Make Puff Pastry Dough- Easy

Puff Pastry Pesto Triangles
Sheets, shells, cups- puff pastry is so versatile. You can use the dough for anything, and freezing it makes it even more handy.

The main idea behind puff pastry is to alternate layers of dough with layers of butter. The trick is to use cold butter so it doesn't melt all over. My recipe uses cubes of butter folded in the dough. It is a lot easier than the slab method, and unless you're a puff pastry connoisseur you won't know the difference. Here is my recipe:

16 oz. flour (half cake flour is good)
1 lb. butter, cubed and chilled
9 oz. ice-cold water
1/4 oz salt

Add butter to flour and toss to coat butter. Combine the water and salt; add all at once. Mix on low speed until the dough forms a shaggy mass. Cover the mix and put it in the refrigerator to let the butter get hard again (20 minutes). When this is done, roll out the dough into a square or rectangle. Fold like a birthday card and roll out again. Keep folding and rolling until you get the desired texture. The less you fold, the more puff you'll get. Fewer folds will give you a finer texture and more even layers. Refrigerate as needed, when the butter starts to melt. After you are done folding, the dough can be baked at 350 degrees until golden (time varies depending on thickness, etc.).

What I love about this recipe is that you can freeze the dough and then use it when you're ready. It thaws fairly quickly (an hour or so). You can bake as-is, cut out in different shapes, or you can make pockets with filling, or wrap around a hot dog or whatever! You can also make triangles and roll them up for croissants.


You know what makes puff pastry so awesome though? The sheer amount of butter used. It's like this:
Butter = love!


That's a cereal bowl full of cute little butter cubes, folks.

While all that butter is awesome, it costs me about $3 per recipe. But it's so worth it. For special occasions I don't think this is a bad price, and I love the fact that you can get a killer puff pastry with only four ingredients.

Monday, April 1, 2013

Gougeres (Gruyere Cheese Puffs)

Gougeres
Gougeres are basically choux pastry dough with gruyere cheese added. For the price, I think gruyere is dissapointing- it reminds me of processed American cheese that comes in orange slices. Or maybe a little like Velveeta (though I haven't had Velveeta in an eternity, so perhaps I am wrong there). You could use any grating cheese and I think it would turn out great.

Cheese Puffs

12 oz. water
6 oz. butter
salt, as needed
6.75 oz. flour, sifted
1.5 oz. egg whites
6 eggs
4.5 oz gruyere (or other) cheese
1.5 TB grated parmesan

Combine water, butter, and salt and bring to a boil. Add flour all at once and stir in well; cook over medium heat, stirring constantly until the dough stops sticking to the sides of the pot. Transfer to the mixer and mix on medium speed for about a minute. Add the egg white and eggs one at a time, mixing well after each addition to get a stiff but pliable texture. Add the cheeses and mix another minute. Transfer dough to a pastry bag with a plain round tip and pipe out onto parchment-papered cookie sheets. Bake at 400 degrees until golden brown, then turn down to 325 degrees and cook 12-15 more minutes.

Cheese puffs are best served warm, but you can also cool them and store them in an airtight container until ready to serve.


Choux pastry is pretty awesome stuff. It puffs like nothing else and you can make swans and other animals with it. Someday I would like to try doing eclairs with choux. There is a lot of room for creativity there- I imagine you could make some impressive pastries using different cake decorating tips.